The selection of a design, often summarized by the search for pedicure nail ideas, is the foundational decision dictating the overall aesthetic and long-term viability of a professional pedicure. This duration is dictated by complex technical factors, including the interaction between the nail matrix, polish chemistry, design complexity, and the maintenance protocols applied post-service. This technical analysis will detail the science of design execution, color theory application, and material selection to provide precise methods for achieving the most durable and visually appealing outcome for your toe polish.
Understanding the Three Dimensions of Design Durability
When selecting among various options for toe nails, we are usually considering three critical stages of a design’s life cycle:
1. Initial Visual Impact (The Aesthetic Set)
- Definition: The period immediately following the final top coat application when the design’s sharpness, color vibrancy, and finish (gloss or matte) are at their peak. Minor imperfections in color distribution or line work may be visible under technical scrutiny.
- Estimated Time: Instantaneous upon completion.
- Mechanism: This is achieved by the final layer of polish or gel sealant forming a high-refractive-index, non-tacky surface. The visual effect is maximized by proper lighting conditions in the salon.
2. Functional Integrity (The Wearable State)
- Definition: The design has hardened sufficiently to withstand normal friction from footwear, bedding, and daily activities without immediate chipping, scratching, or loss of detail. The polish film maintains its structure under moderate environmental stress.
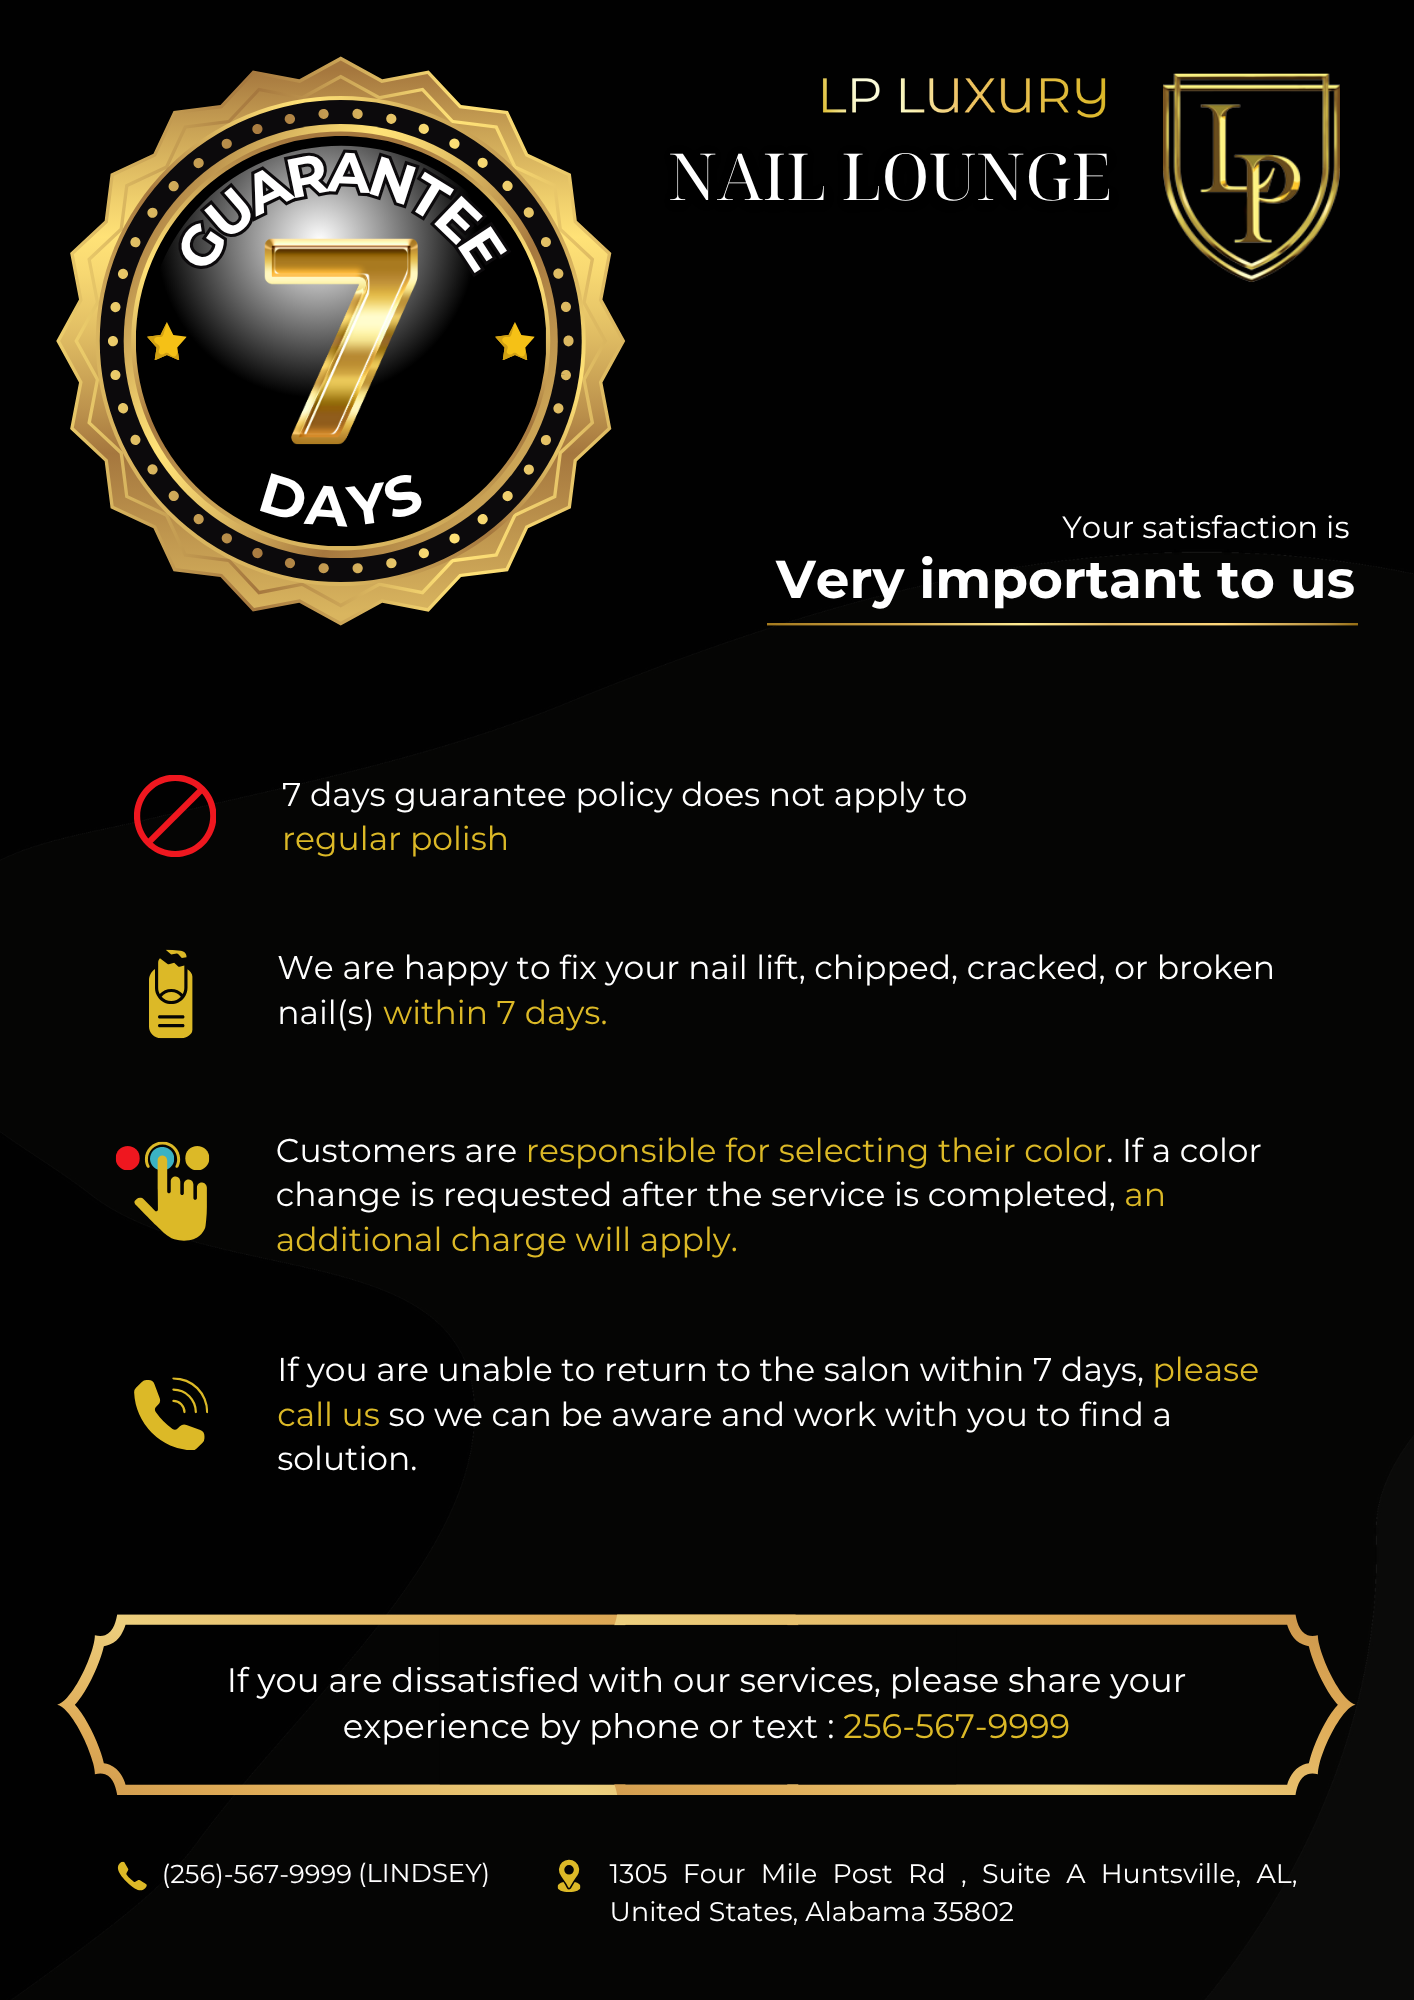
- Estimated Time: 1 to 7 days, depending on the polish type (regular vs. gel) and individual activity level.
- Mechanism: The chemical cross-linking (curing) in gel systems is complete, or in traditional polish, the high-volume solvent evaporation has provided a substantially rigid polymer film capable of resisting minor mechanical abrasion.
3. Long-Term Durability (The Complete Cycle)
- Definition: The maximum period the design remains intact, resisting edge wear, fading, and chipping, before the natural growth of the nail plate begins to compromise the visual balance of the aesthetic. This defines the service interval.
- Estimated Time: 2 to 6 weeks, heavily reliant on aftercare and the quality of the base/top coat system.
- Mechanism: The bond strength between the polish base coat and the natural keratin of the nail plate is maintained, preventing mechanical separation (chipping). Degradation is primarily caused by natural nail growth pushing the design forward.


Factors Dictating the Success of Pedicure Nail Ideas
Understanding these variables is crucial to getting a quicker, more durable, and aesthetically superior pedicure design.
1. Material Chemistry and System Compatibility
The choice between traditional lacquer and UV/LED-cured gel is a primary determinant of durability and design execution complexity.
| Material System | Durability (Days) | Design Flexibility | Technical Consideration |
| Traditional Lacquer | 7–14 | Limited to basic color blocking and simple designs (dots/stripes). | Relies on solvent evaporation; susceptible to thick coat issues. |
| UV/LED Gel Polish | 21–42+ | High: Allows for intricate art, layered designs, and encapsulation. | Requires proper curing time and wattage to prevent under-curing and subsequent lifting/peeling. |
Technical Imperative: High-quality gel systems offer superior pigment concentration and viscosity, allowing for cleaner lines and intricate details essential for complex pedicure nail ideas.
2. Design Complexity and Layer Thickness
The level of detail in any design directly impacts the structural integrity of the polish film and the curing time.
- Simple Color Blocking (Monochromatic/Two-Tone): Requires minimal layering. The total film thickness remains low, optimizing cure time and reducing the risk of internal stress leading to chipping.
- Intricate Nail Art (Geometry, Florals, Stamping): Requires multiple thin layers of different polishes or gels to build the design. This necessitates precise flash-curing between layers in gel systems or extended dry time in lacquer.
- Best Practice: Always apply the thinnest possible layers for detailed work. Thick areas in a design act as stress points and are the first to fail structurally.
3. Nail Plate Preparation (Surface Science)
The longevity of any design is critically dependent on the initial adhesion to the nail plate’s keratin structure.
- Dehydration and Etching: Before the base coat, the nail surface must be thoroughly dehydrated (using isopropyl alcohol or a dedicated dehydrator) and lightly buffed to remove surface oils and create microscopic irregularities for the base coat to bond with.
- Cuticle and Sidewall Cleanliness: Any contact between the polish or gel and the surrounding skin (the cuticle or sidewalls) will introduce lifting at that point, creating a point of ingress for moisture and significantly reducing the life of the aesthetic.
4. Color Theory and Pigment Load
The selection of colors impacts how frequently a design needs maintenance due to visible defects.
- Dark Pigments (Navy, Black, Deep Red): Offer a high visual contrast that makes minor chips, scratches, or wear at the free edge highly visible. While dramatic, they often demand more frequent touch-ups.
- Light/Nude Pigments: Low contrast minimizes the visibility of minor wear and makes the natural nail growth line less noticeable, extending the perceived perfect wear time. This is a crucial consideration for practical pedicure nails ideas.
- Metallics and Glitter: The reflective particles in these polishes can mask minor surface imperfections effectively, offering a visually durable finish despite underlying micro-scratches.
>>> Read More: Impress Nails Pedicure.
Advanced Technical Design Modalities for Pedicure Nail Ideas
To achieve specific visual and functional goals, technicians utilize specialized techniques that move beyond simple polish application.
1. The Inverse French Tip (The Growth Camouflage Strategy)
This technique involves a band of light or glitter polish near the cuticle line (a reverse French). As the nail grows, this band serves to optically blend the natural nail line with the design, significantly extending the period before the outgrowth becomes aesthetically distracting.
Mechanism: Leverages low-contrast design near the growth matrix to minimize the visual impact of natural keratin extrusion.
2. Negative Space Designs (Structural Minimization)
Designs that incorporate areas of the bare, prepped nail plate (negative space) are highly favored for longevity.
Advantage: By using less product, the overall film thickness is minimized, and the polish is less likely to lift since the edges are sharply defined rather than relying on a thin, feather-edge seal around the entire nail perimeter. This ensures clean, modern-looking pedicure nails ideas.
3. Chrome/Holographic Finishes (Optical Complexity)
These designs utilize micro-fine powder application over a non-wipe top coat (a cured, uninhibited layer of gel).
Technical Requirement: The powder must be burnished into the fully cured, non-tacky gel surface to achieve the mirror or prismatic effect. Failure to fully cure the base color or the non-wipe top coat will result in a dull, muted finish and rapid flaking of the pigment.
4. The Encapsulation Technique (3D Design Protection)
For pedicure nail ideas involving small 3D elements (rhinestones, small charms, loose glitter), encapsulation is mandatory for durability.
- Method: The art element is placed on the color layer, and then completely sealed (encapsulated) beneath one or more layers of hard gel or a high-viscosity top coat.
- Function: This creates a smooth, continuous exterior surface, preventing the 3D element from catching on hosiery or shoes, which is the primary cause of mechanical design failure in dimensional toe art.

Design Maintenance Protocols: Post-Service Integrity
The final step in ensuring the longevity of your chosen aesthetic is the application of strict aftercare.
| Factor | Effect on Design Integrity | Rationale |
| Exposure to Solvents (Sunscreens, Oils) | Significantly softens traditional lacquer and can degrade the top layer of gels. | Lipophilic components in these products can chemically disrupt the polish polymer matrix. |
| Hot Water Immersion (Baths, Saunas) | Causes the nail plate to temporarily swell and then contract, stressing the polish film and leading to lifting. | Keratin absorbs water, causing volumetric changes that the less-flexible polish film cannot accommodate. |
| Daily Application of Cuticle Oil | Maintains the flexibility of the polish film and surrounding skin. | The constant hydration prevents the polish from becoming brittle and prone to micro-fractures, especially important for feet exposed to dry conditions. |
| Filing/Re-sealing the Free Edge | Crucial for preventing wear on the most stressed part of the nail. | If chipping occurs, the edge should be lightly filed and re-sealed with a coat of high-quality clear top coat to stop further propagation of the crack. |
Conclusion
To effectively execute and maintain the most sophisticated pedicure nail ideas, you must commit to a system of two thin color coats, precise execution of design elements, and a high-performance top coat. Mastering the technical variables—polish chemistry, film thickness control, and post-service care—is the single greatest factor in ensuring a rapid, durable, and visually enduring finish. The selection of aesthetic is secondary to the quality of the technical application.